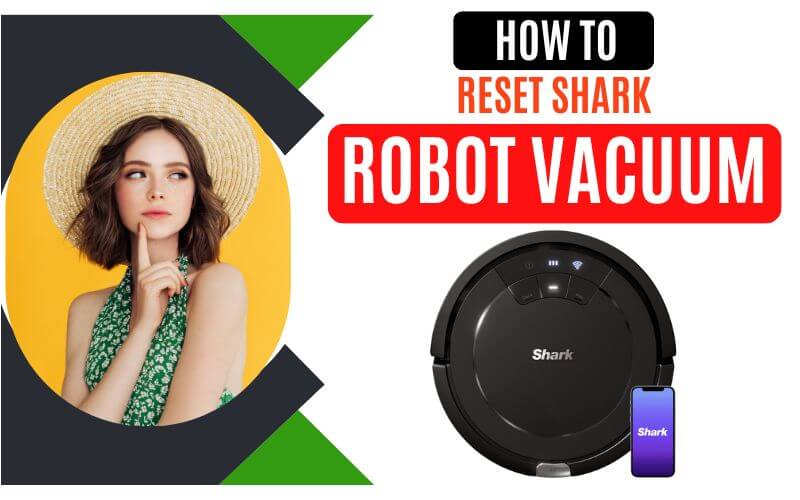
Robotic vacuums have revolutionized the way we clean our homes, and Shark Robot Vacuums are among the top choices for many homeowners. While these devices are generally reliable and efficient, there might be instances when you need to reset them to resolve certain issues or restore them to their default settings. In this article, we will provide you with a step-by-step guide on how to reset Shark Robot Vacuum effectively in no time.
Understanding the Need for Resetting
Resetting your Shark Robot Vacuum can be necessary in various situations. It can help resolve software glitches, connectivity issues, or even restore the device to its original settings. Additionally, resetting can also help troubleshoot problems like unresponsive buttons, unexpected error messages, or erratic cleaning patterns. By following the reset process correctly, you can often overcome these issues without the need for technical support or contacting customer service.
Precautions before Resetting Sharq IQ Robot
Before you proceed with resetting your Shark Robot Vacuum in a detailed guide on how to reset Shark Robot Vacuum blog, it’s important to take a few precautions:
- Ensure the vacuum is not in the middle of a cleaning cycle.
- Disconnect the power supply or charger from the vacuum.
- Make sure the device is on a stable surface to prevent accidental damage.
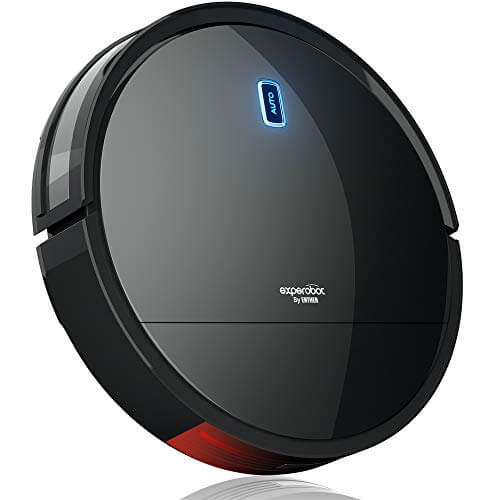
- 6 Clean Modes - The robot vacuum supports 6 cleaning modes.
- 120-min Runtime and Self-Recharing - With a rechargeable battery capacity of 2600mAh, the C200 robot vacuum cleaner can continuously work for 120-minutes.
Step 1: Powering Off the Shark Robot Vacuum
To initiate the reset process, you need to power off the Shark Robot Vacuum. Locate the power button on the device and press and hold it until the vacuum turns off. This step ensures that the device is completely powered down and ready for the reset.
Step 2: Disconnecting the Battery
Once the Shark Robot Vacuum is powered off, you’ll need to disconnect the battery. This step helps clear any residual power and ensures a thorough reset. Look for the battery compartment, usually located on the underside or side of the vacuum. Open the compartment and carefully detach the battery.
Step 3: Waiting for 10 Seconds
After disconnecting the battery, allow the Shark Robot Vacuum to remain in this state for approximately 10 seconds. This brief waiting period ensures that any residual charge dissipates, allowing for a complete reset.
Step 4: Reconnecting the Battery
Once the waiting period is over, it’s time to reconnect the battery. Place the battery back into the compartment and ensure it is securely attached. This step prepares the vacuum for the subsequent powering on.
Step 5: Powering On the Shark Robot Vacuum
With the battery reconnected, you can now power on the Shark Robot Vacuum. Locate the power button and press it once to turn the device on. Wait for the vacuum to initialize and start-up. This may take a few seconds.
Step 6: Verifying the Reset
After powering on the Shark Robot Vacuum, it’s important to verify whether the reset was successful. Check if the device is functioning normally, responding to commands, and performing cleaning tasks as expected. If the issues that prompted the reset are resolved, then the reset was successful.
Common Issues and Troubleshooting
Sometimes, even after resetting your Shark Robot Vacuum, you might encounter persistent issues. Here are some common problems and troubleshooting tips:
- Vacuum not connecting to Wi-Fi: Ensure that the Wi-Fi network is operational and try resetting the Wi-Fi settings on the vacuum.
- Vacuum not charging: Check the power source and ensure the charging contacts on the vacuum and dock are clean and free from debris.
- Vacuum not navigating properly: Clean the sensors and ensure there are no obstacles obstructing the vacuum’s path.
- Vacuum getting stuck frequently: Remove any loose wires, small objects, or carpets that might be causing the issue.
Remember, if these troubleshooting tips do not resolve the problem, it’s recommended to contact Shark customer support for further assistance on how to reset Shark Robot vacuum.
Conclusion
Resetting your Shark Robot Vacuum can be an effective way to resolve various issues and restore the device’s functionality. By following the step-by-step guide outlined in this article, you can confidently reset your Shark Robot Vacuum and address common problems. Remember to exercise caution and follow the precautions mentioned to ensure a safe and successful reset.
FAQs about How to Reset Shark Robot Vacuum
Q. How often should I reset my Shark Robot Vacuum?
A: Resetting your Shark Robot Vacuum is typically only necessary when you encounter specific issues. It is not a routine maintenance task.
Q: Will resetting the vacuum erase my cleaning history?
A: No, resetting your Shark Robot Vacuum will not erase the cleaning history. It primarily resets the device’s settings and resolves software-related issues.
Q: Can I reset my Shark Robot Vacuum remotely?
A: No, you cannot reset your Shark Robot Vacuum remotely. You need physical access to the device to perform the reset process.
Q: How long does the reset process take?
A: The reset process for the Shark Robot Vacuum is relatively quick and usually takes a few minutes to complete.
Q: Do I need any special tools to reset my Shark Robot Vacuum?
A: No, you do not need any special tools to reset your Shark Robot Vacuum. The process can be completed using the built-in buttons and compartments on the device.
Q: Does my Shark vacuum have a reset button?
A: The presence of a reset button on your Shark vacuum depends on the specific model. Check the user manual or the official Shark website for model-specific information.
Q: How do you reboot the Shark AI robot?
A: To reboot a Shark AI robot:
Locate the power button.
Press and hold the power button for about 10 seconds until the robot turns off.
Release the power button and press it again to turn the robot back on.
Q: How do I reset my robot cleaner?
A: The reset process for a robot cleaner varies by brand and model. Typically, locate the reset button on the main body or underside of the device. Use a small tool or paperclip to press and hold the reset button for a few seconds. Release it and wait for the cleaner to restart.
Q: Why has my Shark robot vacuum stopped working?
A: Possible reasons for a Shark robot vacuum to stop working include power issues, clogged brush roll or suction path, full dustbin or filter, battery or charging problems, sensor obstructions, or technical malfunctions. Consult the user manual or contact Shark’s customer support for specific troubleshooting steps.
- 6 Clean Modes - The robot vacuum supports 6 cleaning modes.
- 120-min Runtime and Self-Recharing - With a rechargeable battery capacity of 2600mAh, the C200 robot vacuum cleaner can continuously work for 120-minutes.
Remember, if you have any specific concerns or encounter issues during the reset process, it is advisable to refer to the user manual or contact Shark customer support for assistance.